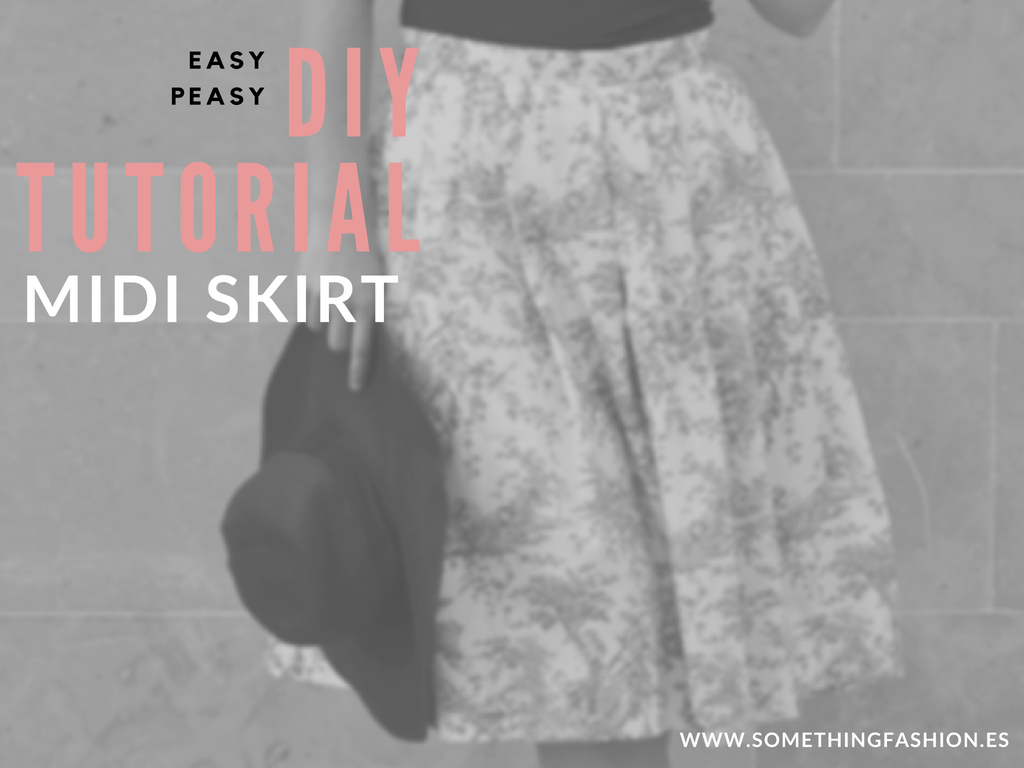
There we go, guys. The tutorial about making this "Toile de Jouy" vintage skirt is finally here! You can't even imagine how long it took us to shot every picture, and also draw the diagrams so everything was clear and super understandable for you to successfully sew it and get along with the instructions. So, enjoy and remember to share with me via social network (Facebook, Pinterest or Twitter) the results by using the tag #somethingfashion!
Supplies you'll need:
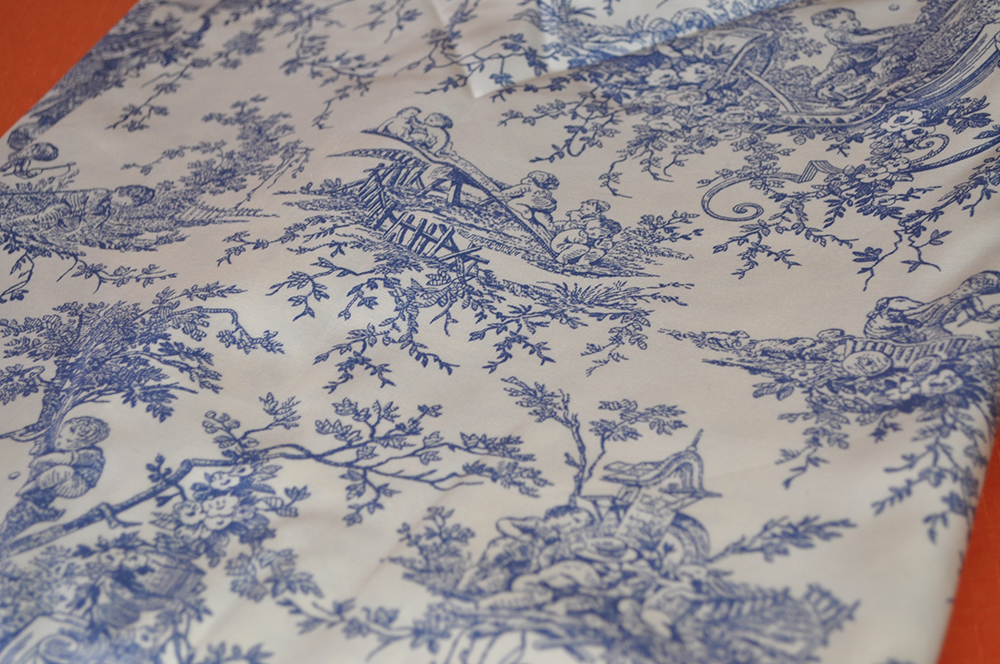
- 150 cm x 150cm aprox. of a tight and heavy fabric like canvas or neoprene. For a more accurate dimension, measure your waist and double it.
- Scissors
- Needle and thread. Preferably you'll need the thread on the most accurate color possible for the fabric and thread on the most opposite color for basting with large stitches.
- Sewing machine (or you can hand-sew it)
- 20cm zipper
- Iron
- Measuring tape
- Pins. Tons of them
Step 1:
You're going to fold your huuuuge fabric in half, allowing a seam allowance following the next scheme:
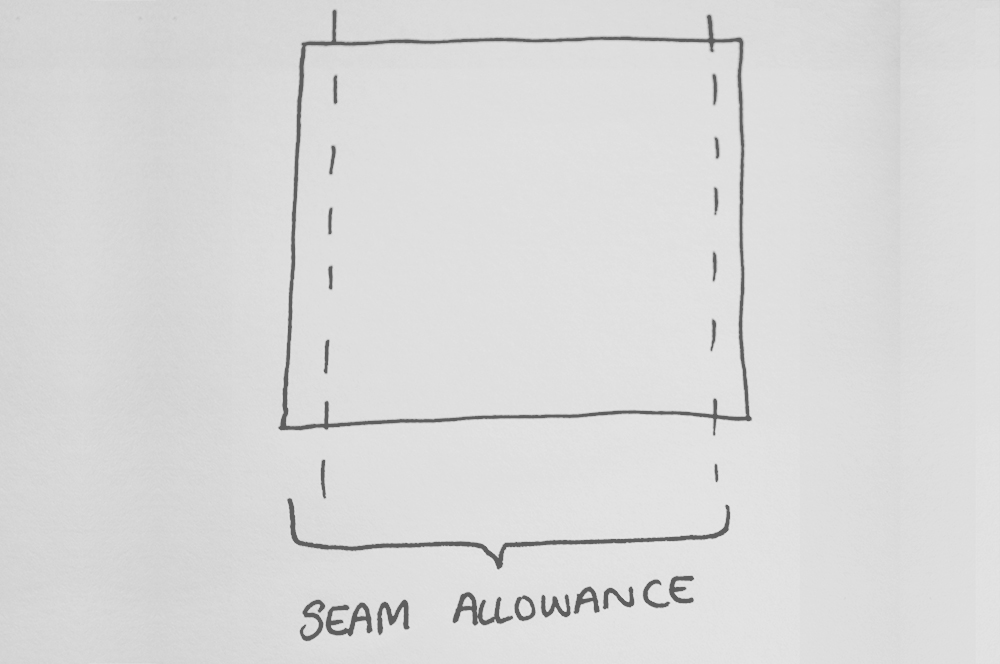
The seam is about 2 or 3 cm on each side on the inside of the fabric (or the side you're not going to see once it's finished). You're going to pin it before folding in half the fabric. Then, sew it with your sewing machine.
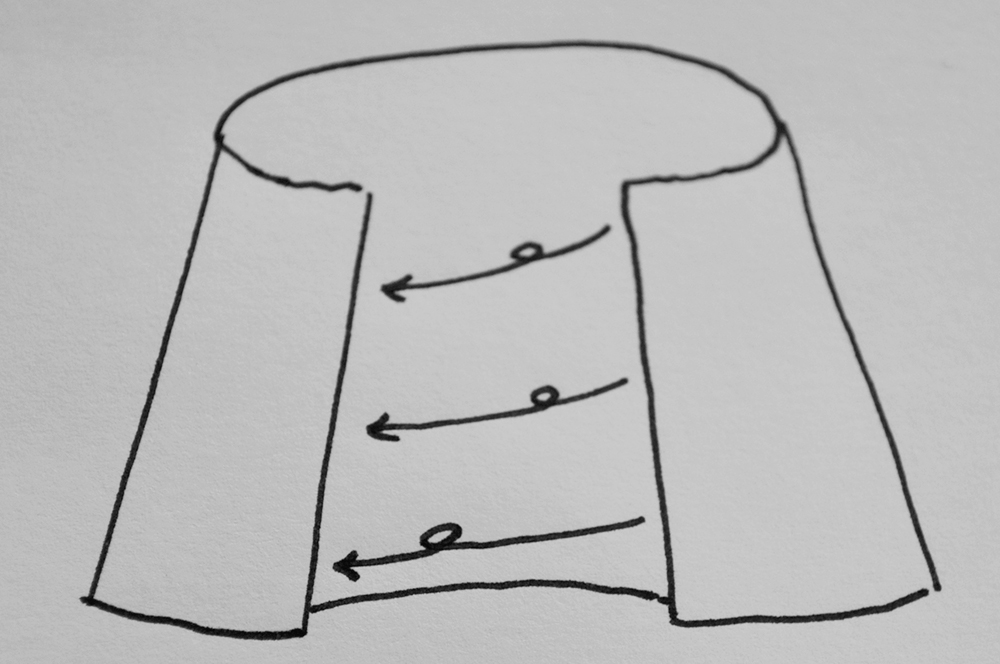
Step 2:
Once you're done with the seam allowance, pin almost all of the fabric down to up, and leave about a 20cm (high) space on the part that will be your waistline. You'll need that for the zipper on coming steps, but don't worry too much about that! You'll get something similar to this:
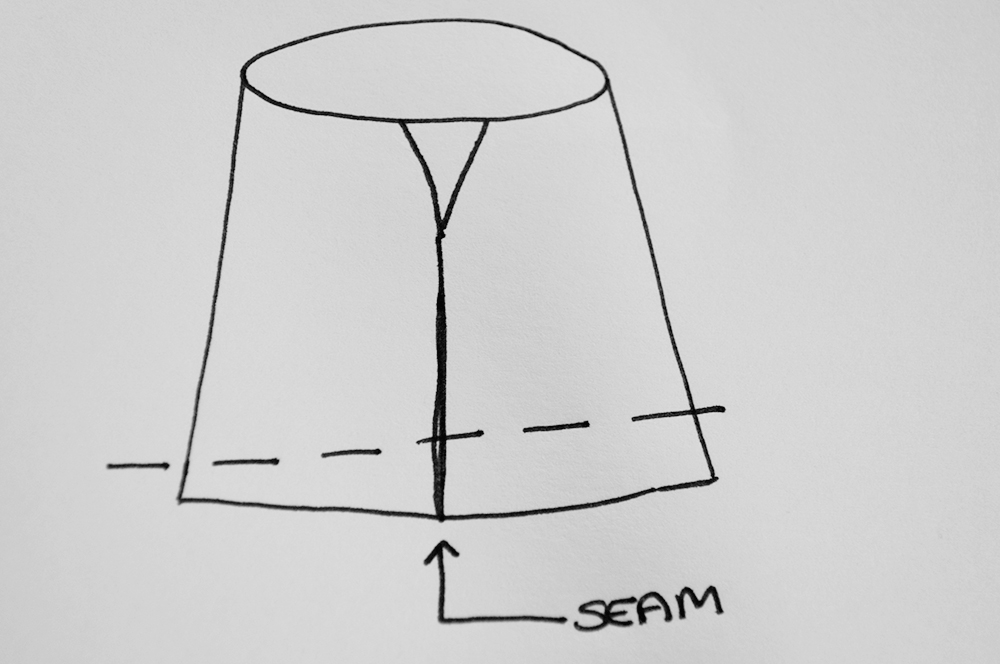
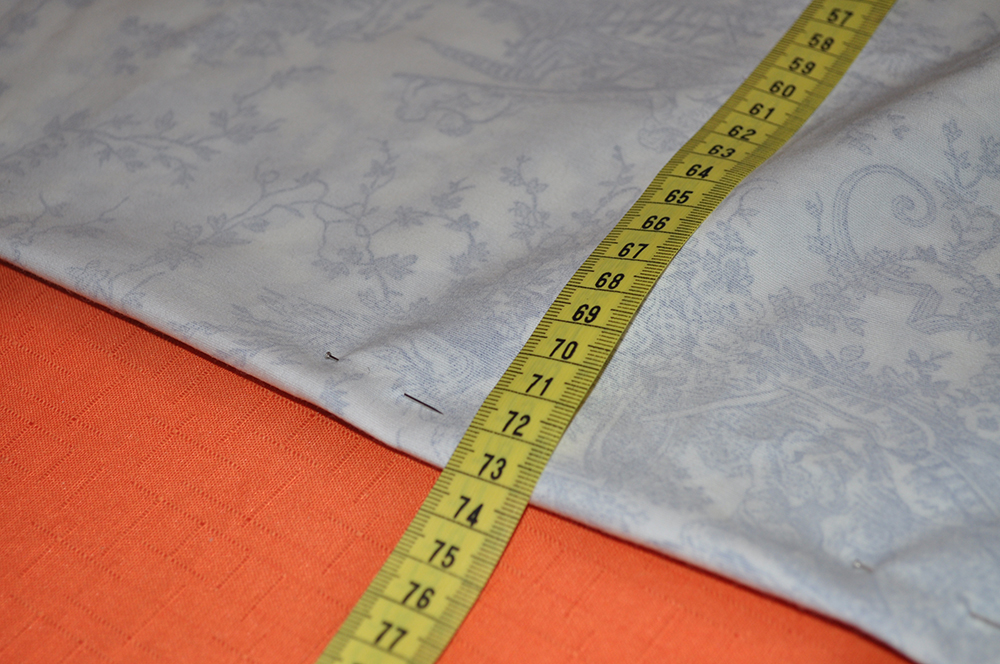
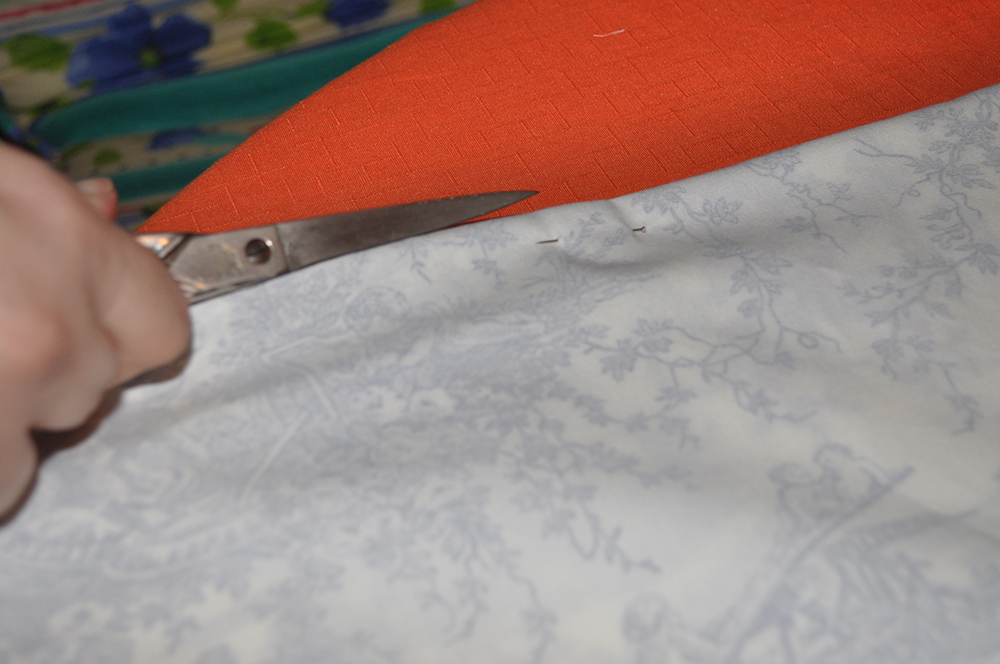
Measure carefully the bottom, and pin following an imaginary line. Depending on how long you want your skirt to be, you're going to cut more or less fabric once marked and pinned. I recommend not to cut all the fabric excess at once, just in case. Remember to leave a seam allowance so you can sew it on final steps and obtain a neat final result. Set aside the leftover fabric, don't throw it because you'll need it soon!
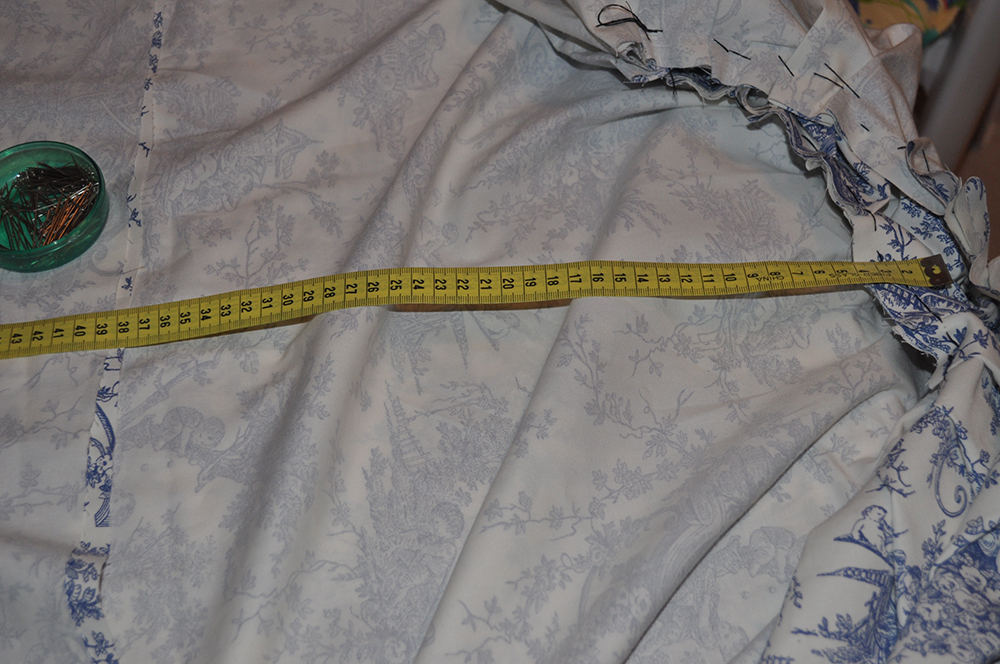
I recommend you to measure directly from your waist to the point you want your final skirt to be (usually midi skirts end at your knee) and then add 2 cm for the seam allowance.
Step 3:
Start pleating. This might be the most labored step and the one which is going to take almost all your time. Start on the center of the fabric you sewed together pinching the fabric and folding it to one side as seen below. Do a large stitch and keep pinching to one side doing the pleats as regular as possible. The bigger the pleats, the more volume you'll get on your skirt. And the smaller the pleats, the less volume. Once you're done with one half of the skirt, do it on the other side.
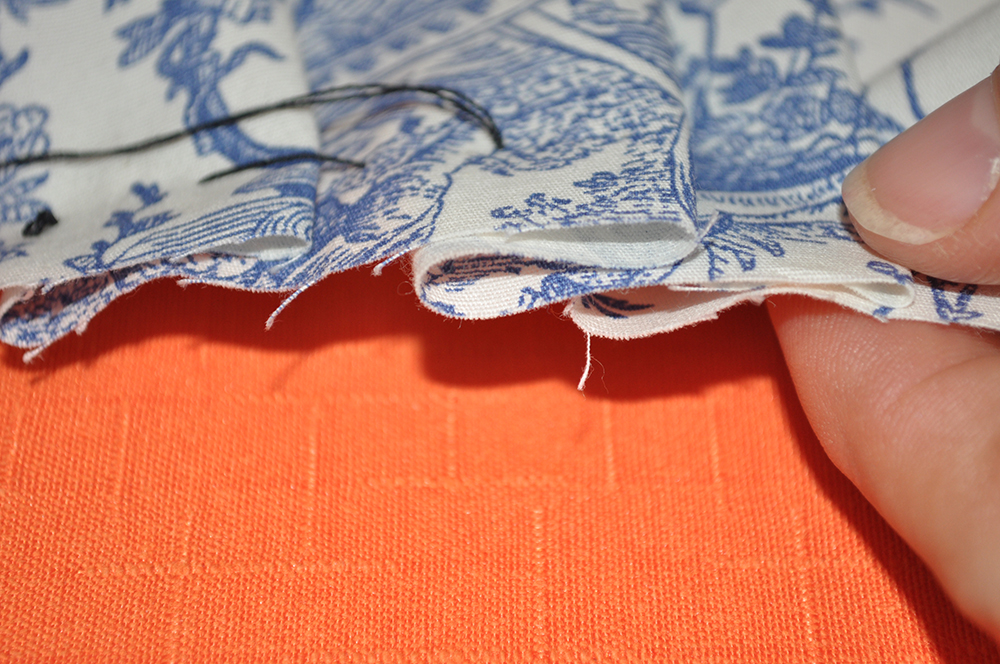
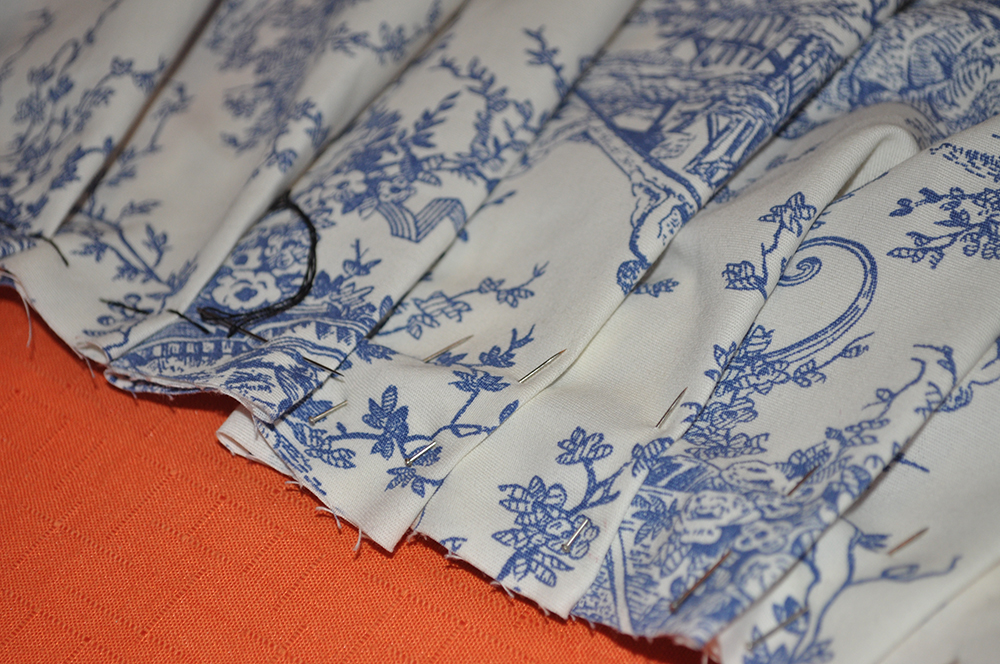
I marked down the center of the skirt with two pins as seen on the pictures so it would be easy to find the two halves of the skirt.
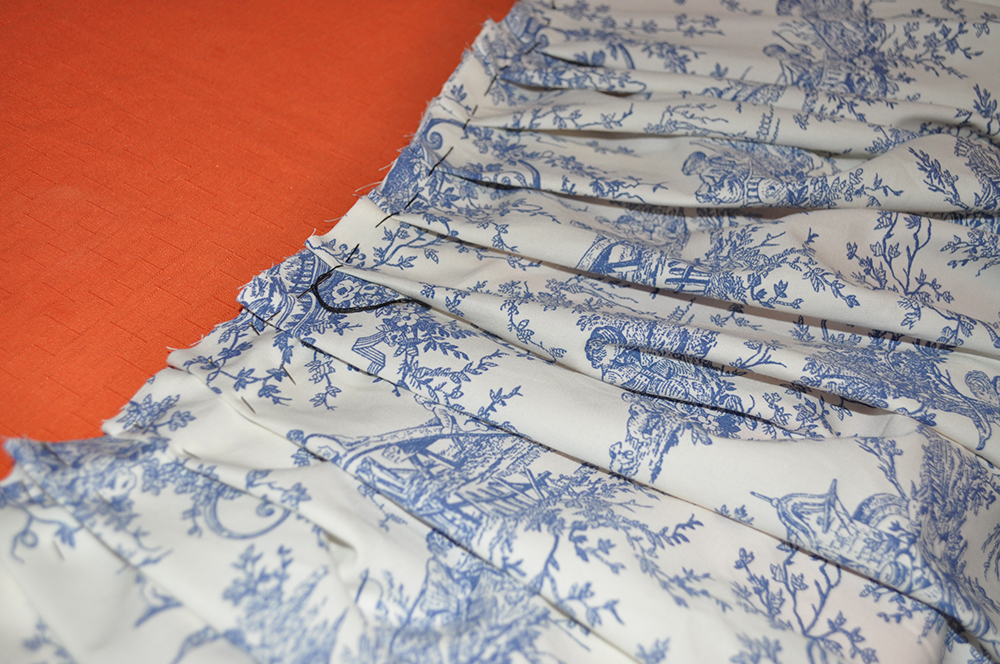
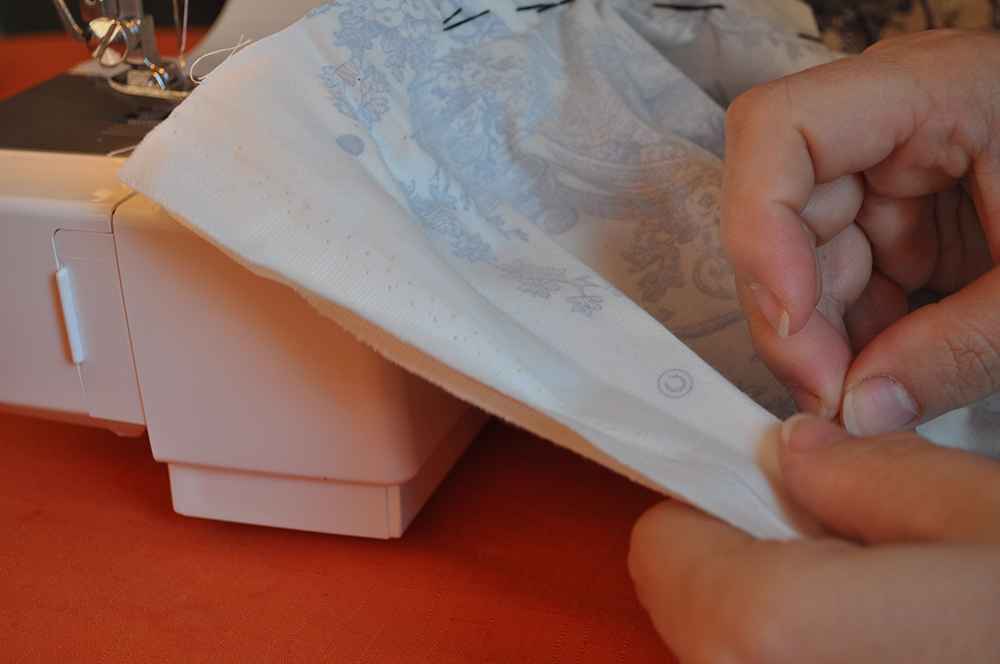
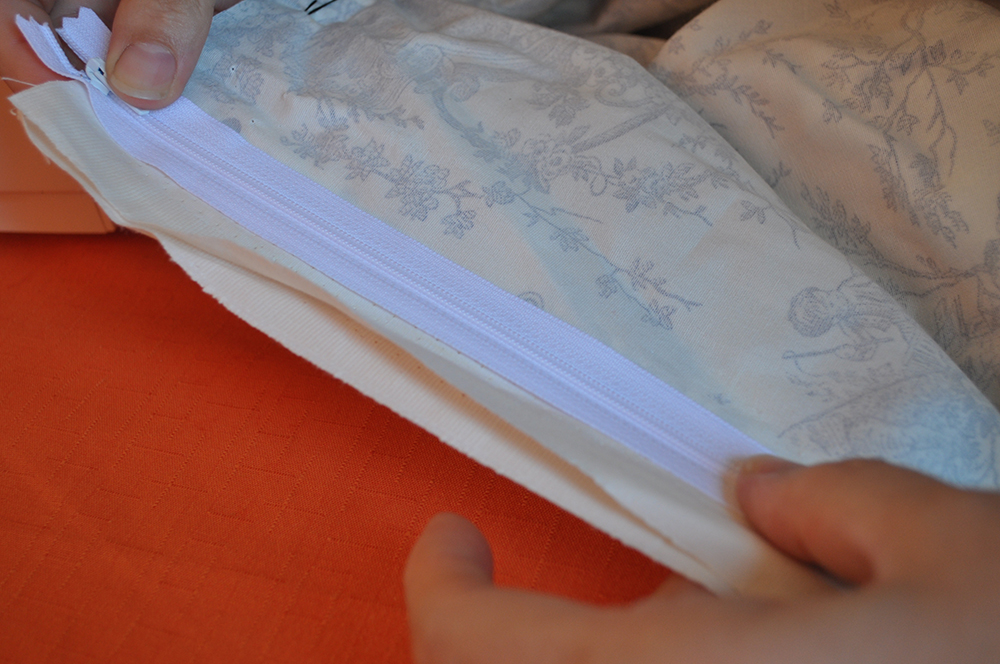
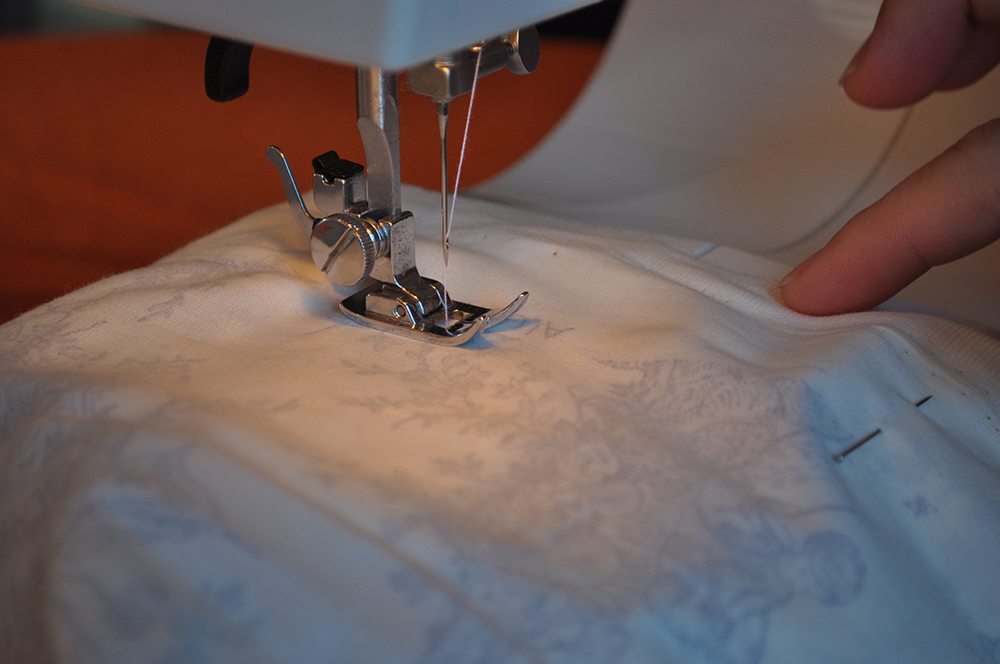
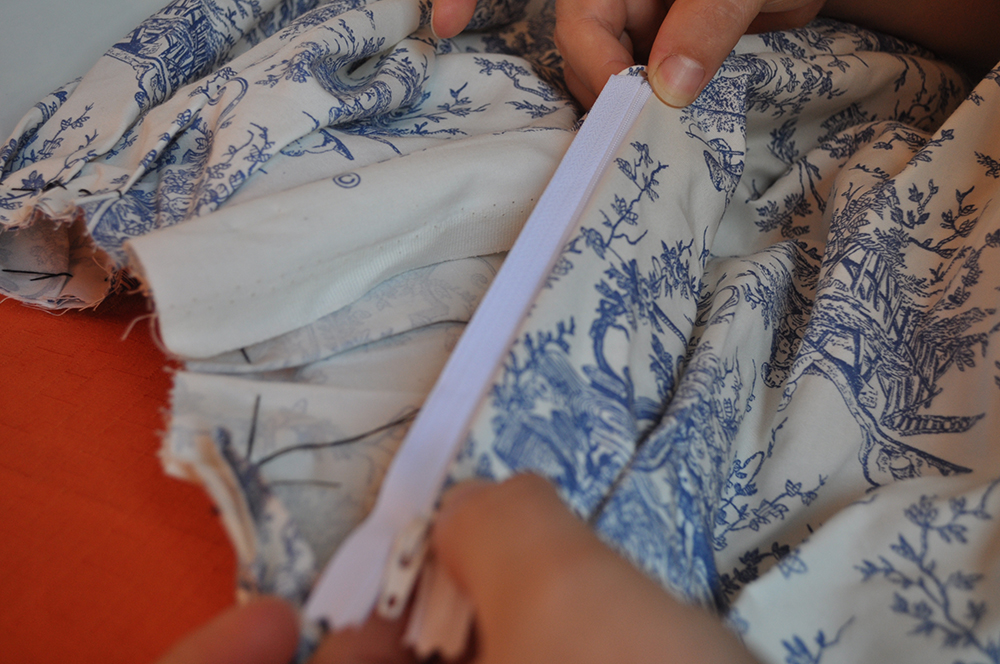
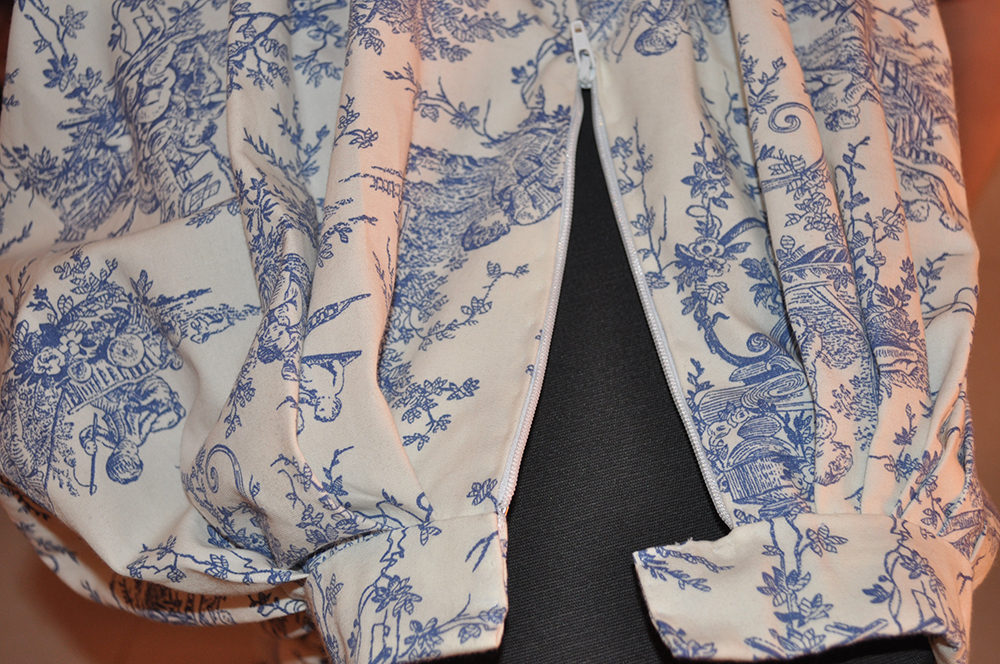
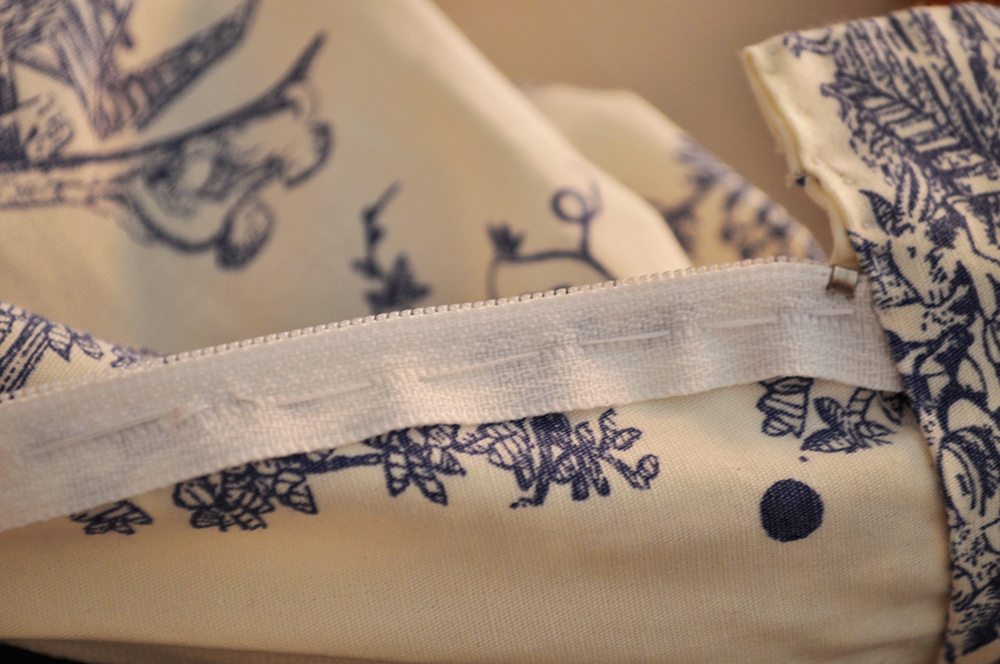
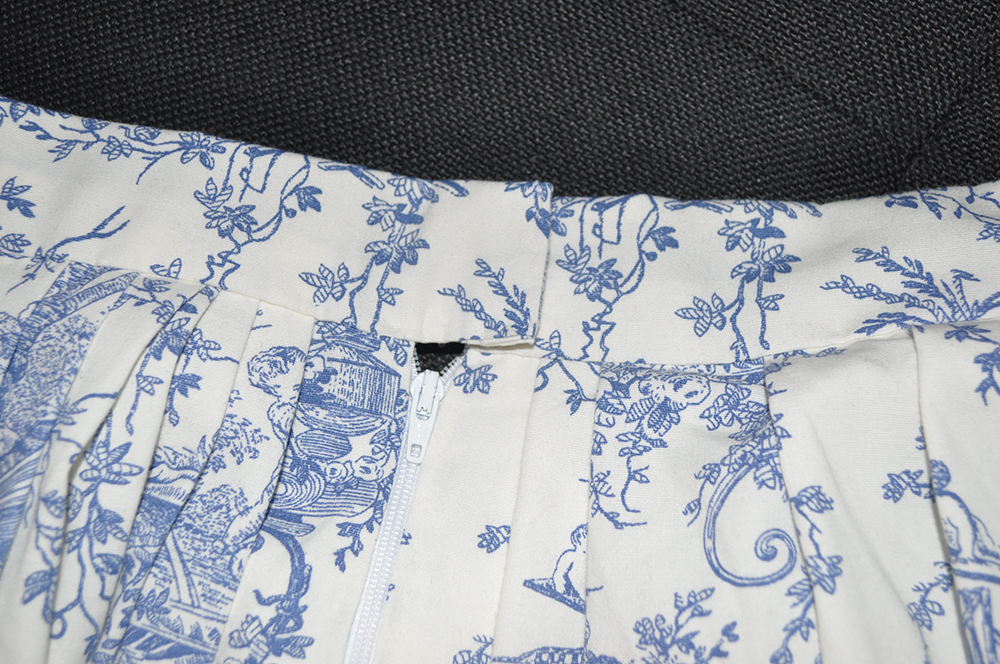
Put the zipper on that hole of 20cm high you left at step 1. I recommend presenting it closed and with its handle facing the right side of the fabric (be careful about not putting it reverse!). Then pin it being careful not to leave any fabric on the path of the zipper, or you'll have trouble clasping and unclasping it. Then you can hand-sew it or sew it by machine.
Step 5:
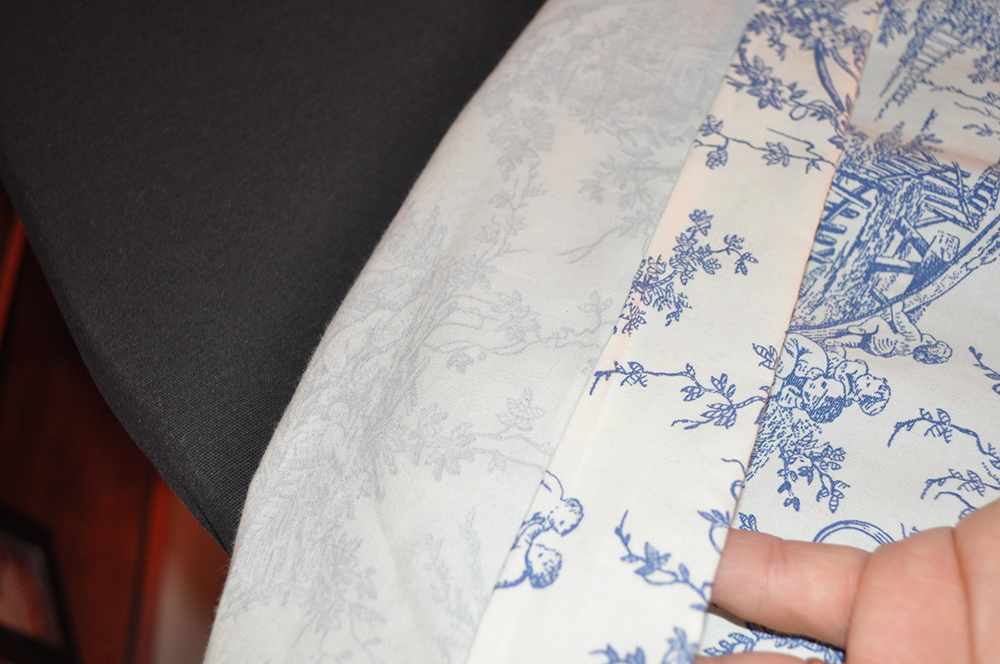
Remember the piece of fabric you cut some steps before and you kept? Now you're going to use it. Once sewn the zipper properly, you're going to take that piece of fabric and pin it on the waist of the skirt. This way you'll start finishing your piece on the neatest way possible.
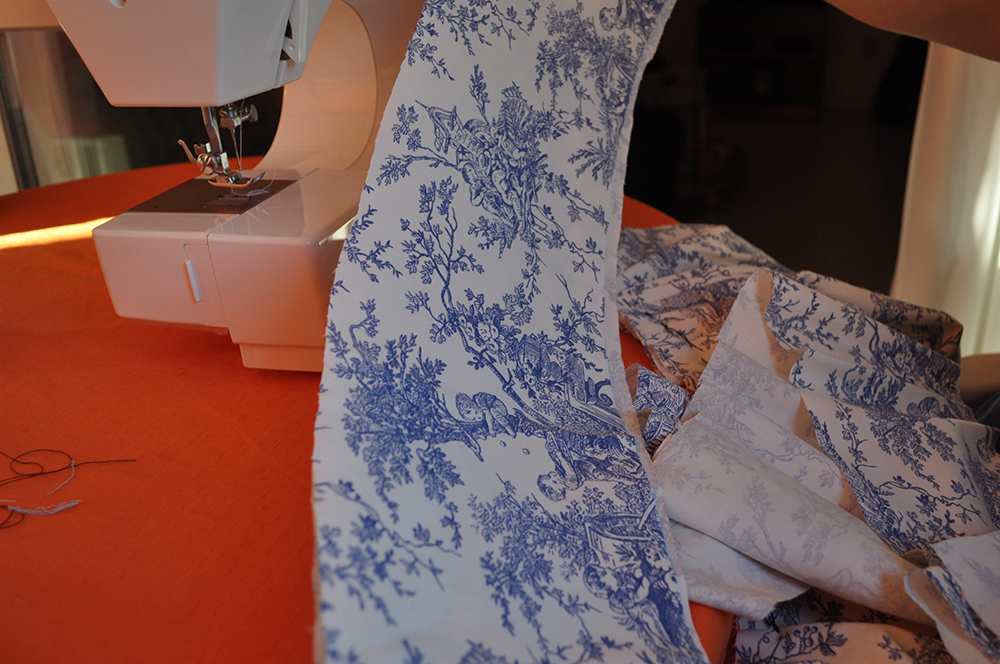
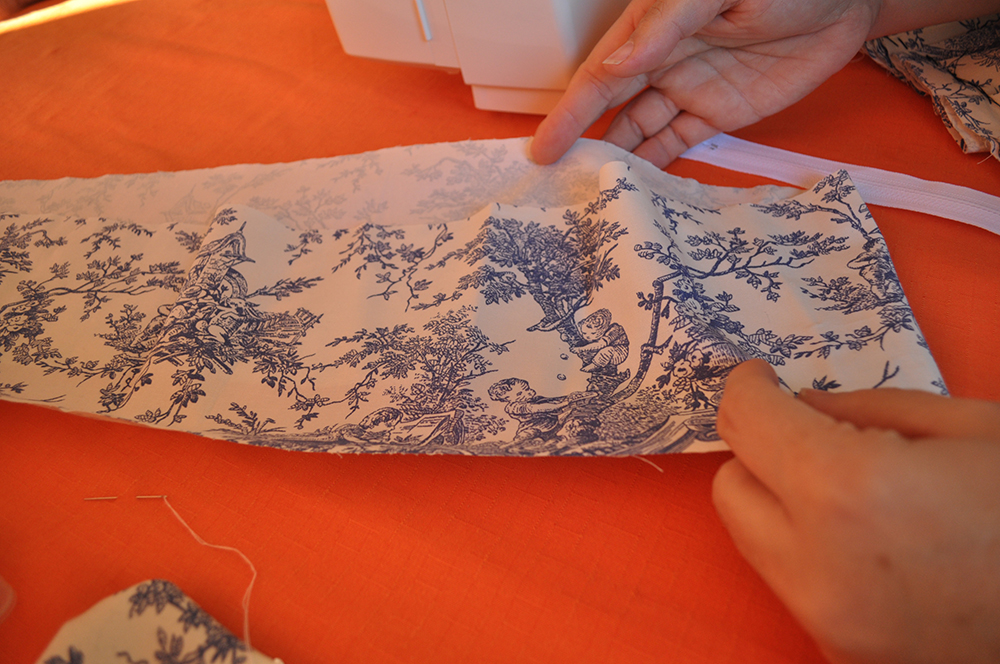
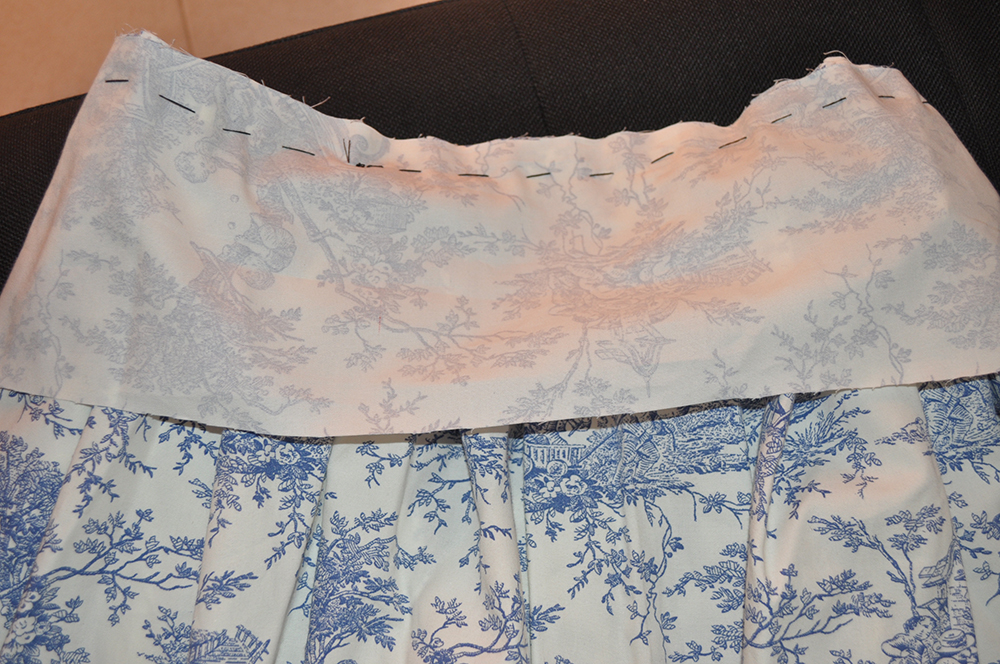
Fold the piece once pinned on the waist.
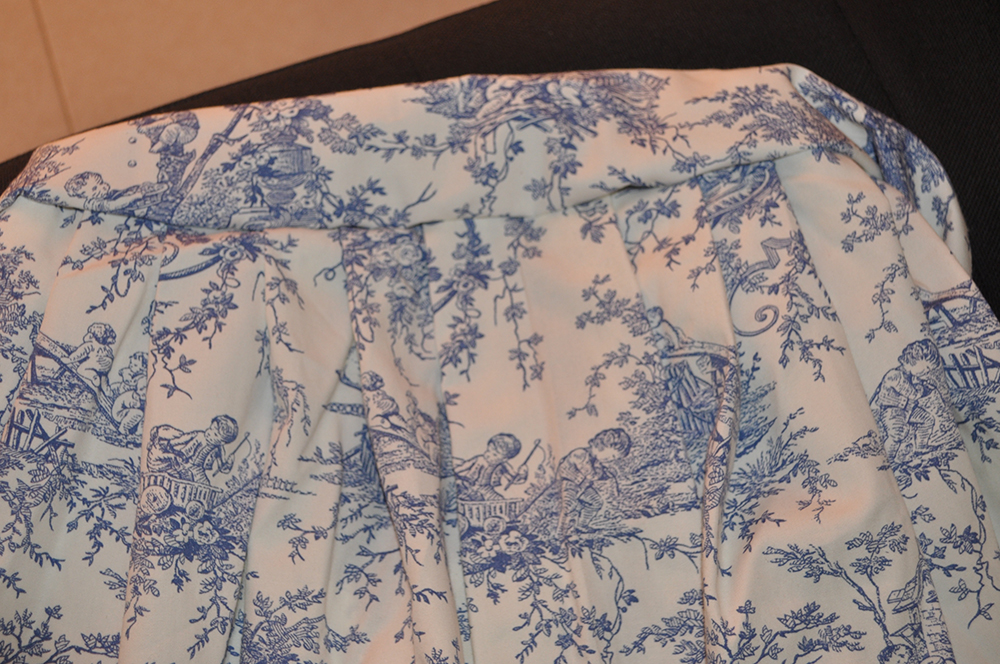
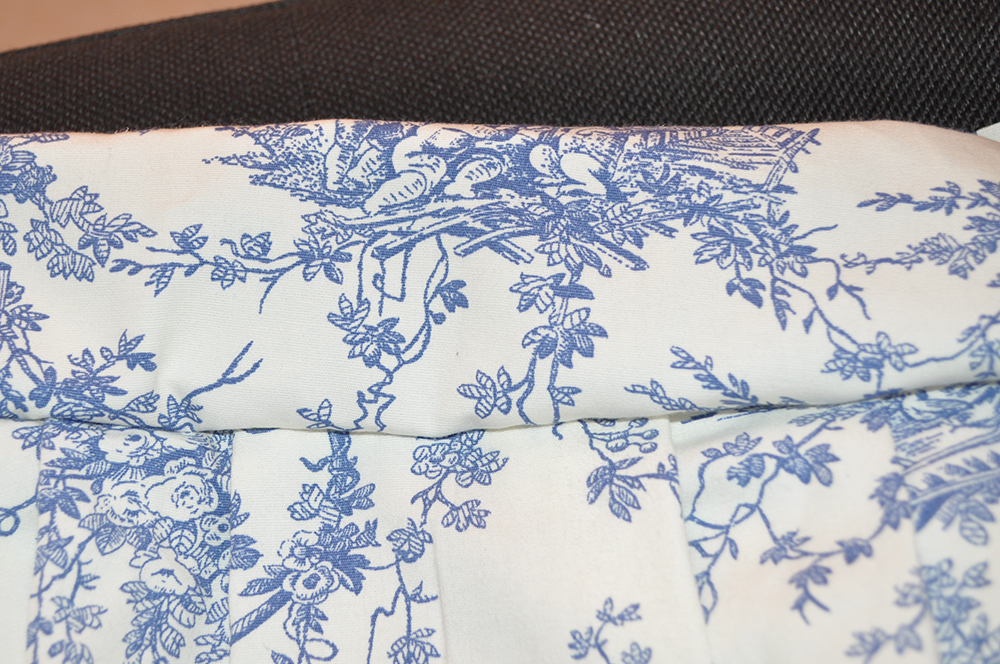
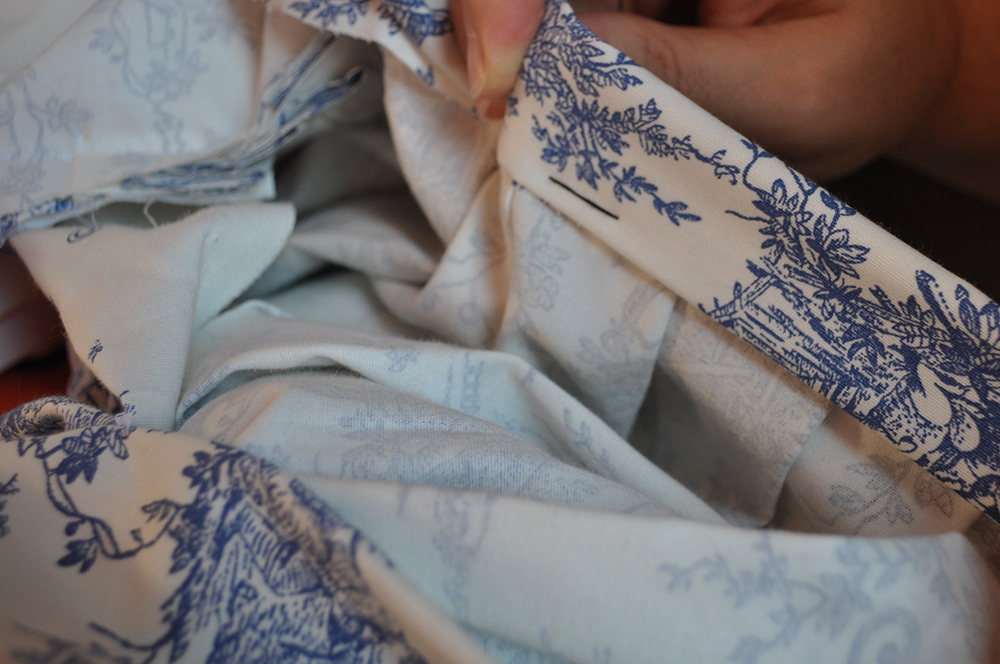
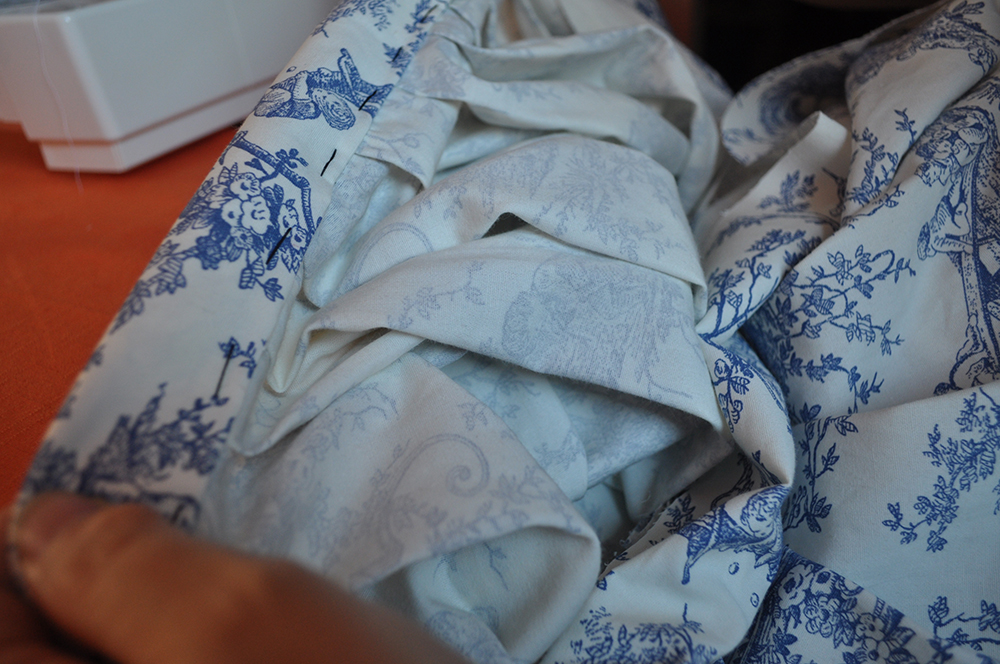
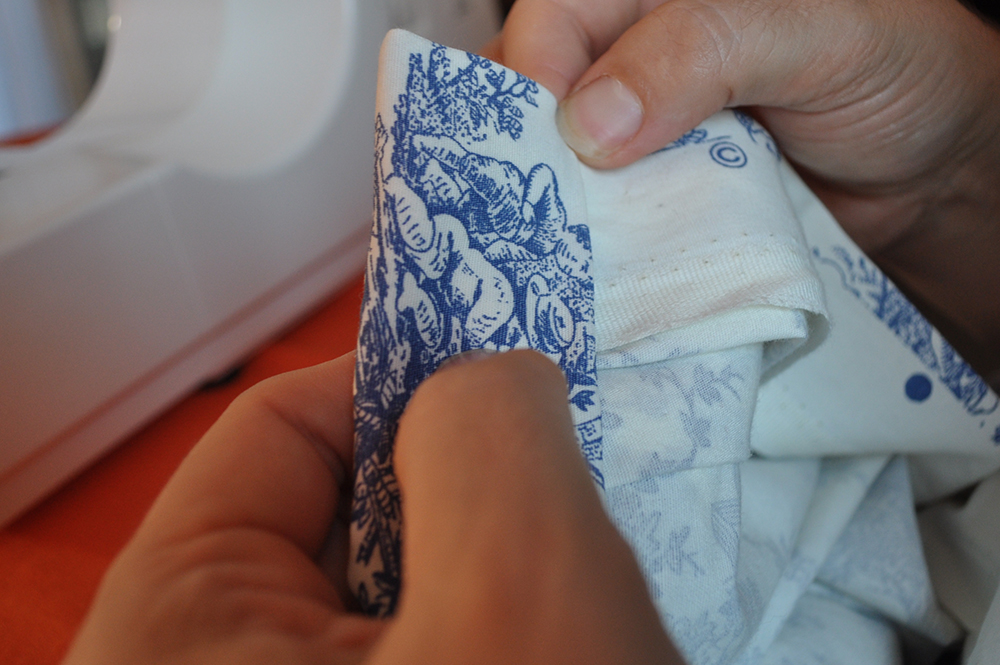
Do long stitches to secure the waistband you've just done and close the sides near the zipper as well. Sew by hand or machine.
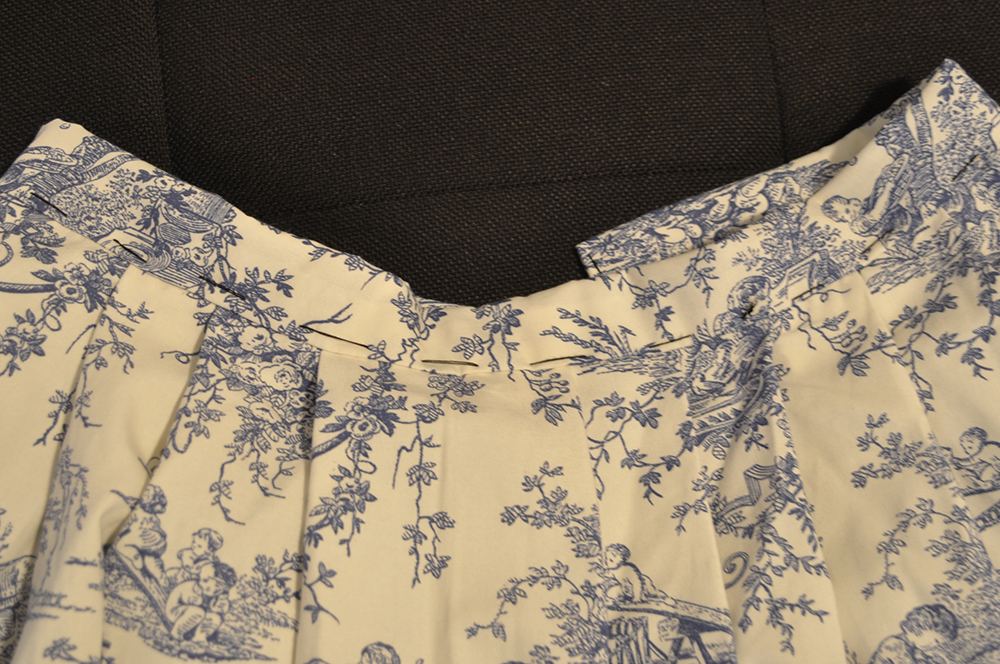
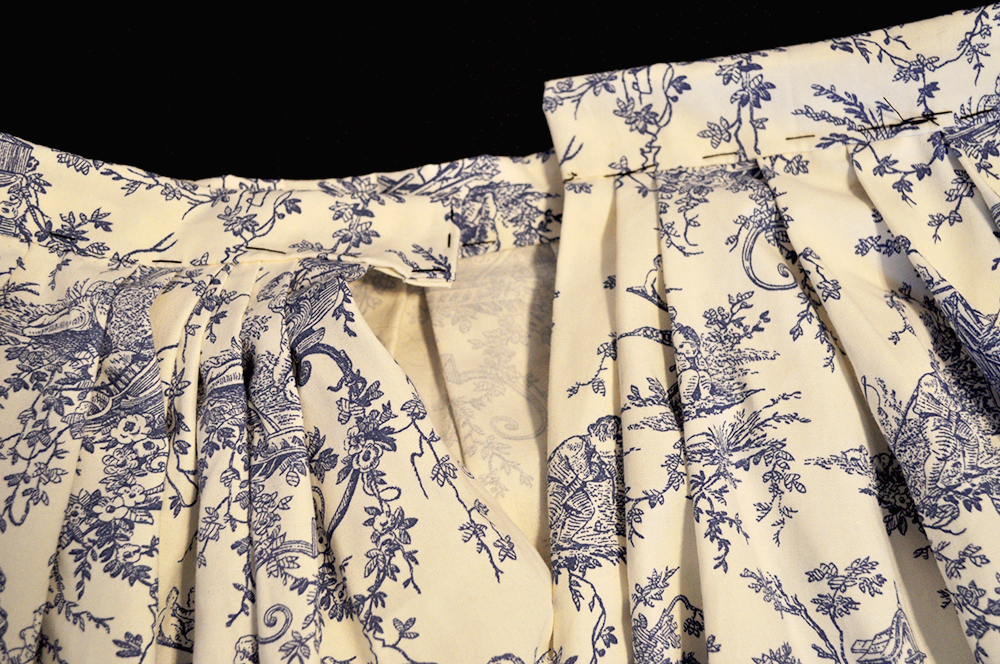
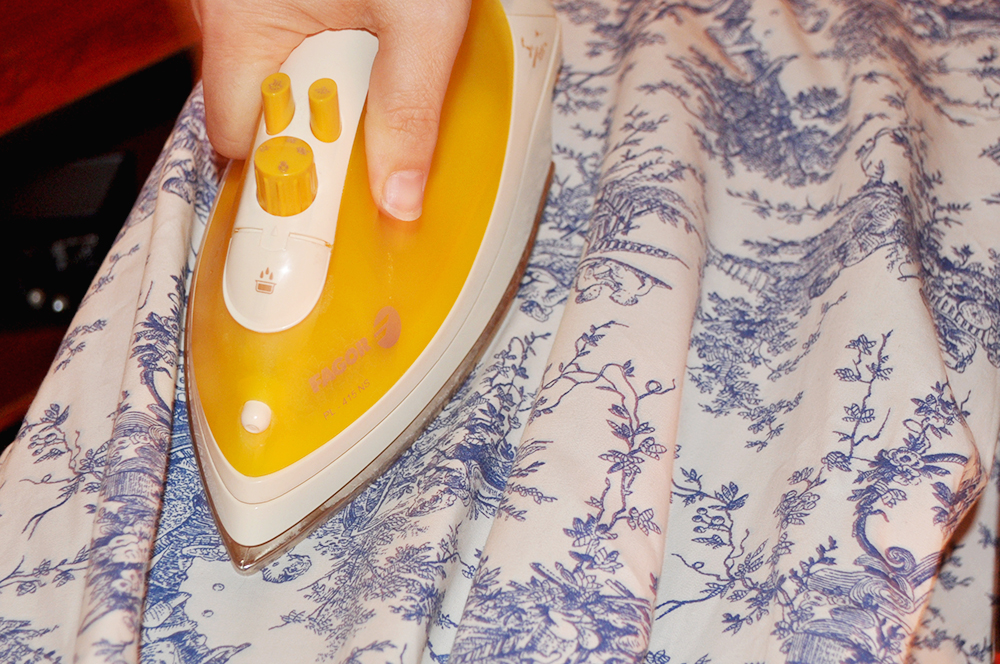
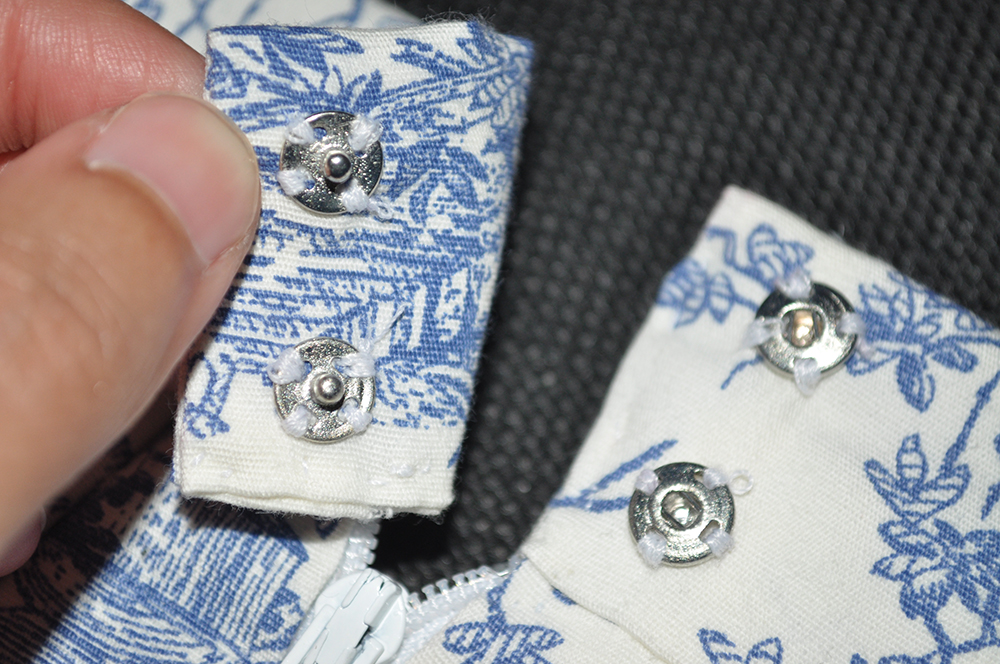
Iron the pleats and waistband carefully. I adjusted and finished the waist by adding two buttons or clips near the zipper.
Step 7:
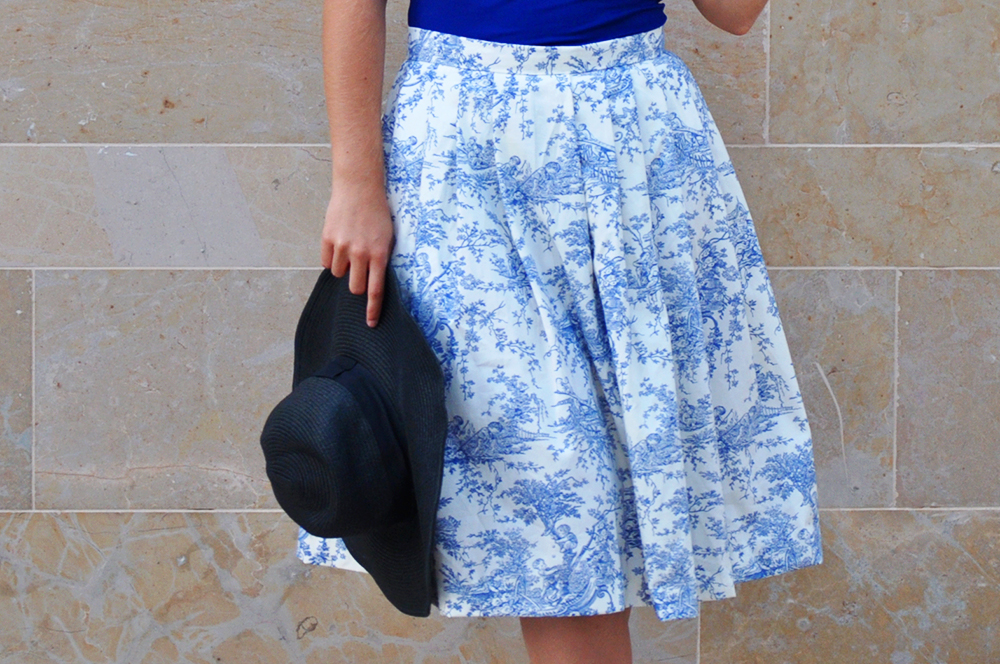
YOU'RE DONE! CONGRATULATIONS! Enjoy your new handmade midi skirt, and remember to share it through the social network by using the tag #somethingfashion


![About [span]me[/span]](https://farm5.staticflickr.com/4335/35565816704_416c791419_o.jpg)


