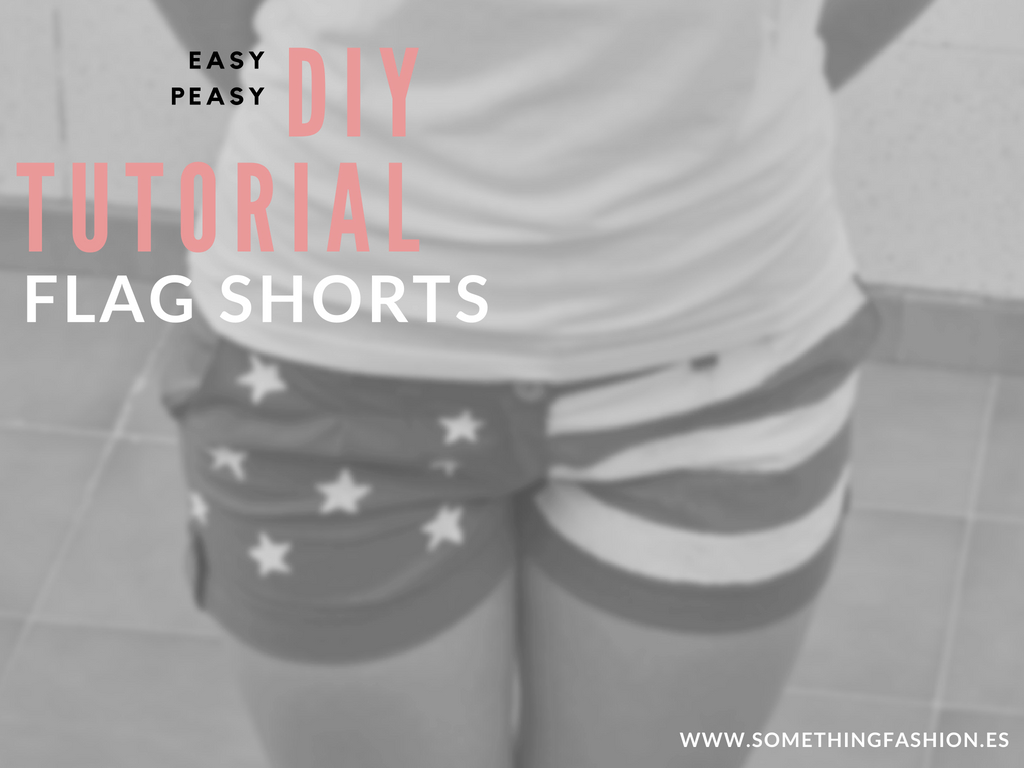
DIY tutorial: stars & stripes shorts
1:17 PM
So, you've seen them on LOTS of lookbookers and bloggers, but, maybe like me, you realized very late they were from TopShop, or you couldn't find them. Don't go desperate and make your own, I'll show you how. It's easy and fun, and is an easy project for children as well!
Supplies and things you'll need:
A pair of shorts. They can be denim, old, vintage, or blue like mine.
Fabric paint in white and red.
A piece of cardboard.
Plastic bags.
Pencil
Ruler
Scissors
Brushes
Optional: Iron machine, in case you have to fix the paint. The bottle of paint will tell you if you need to fix the colors after painting.


Step 1:
Clear the table so you have enough space. Take a piece of cardboard, and draw a star. (You can also print it from the Internet). Cut it so you can have your piece like a stencil.


Step 2:
Take the ruler. You're going to mark the bars measure. I marked mine every 3,5cm, because of the lengh of my shorts, but you can put whatever measure you'd like to. Don't make them very thin, but also not so thick.

Put your marks on every side of the short leg and then with the ruler, connect the marks with a line.


(Can you see the lines?)
Step 3:
Put the plastic bags inside the pants. This is because you don't want the paint go through the fabric, right? Once you've put the ''security bags'', start painting. I reccommend you to start with the white, because you'll need it to paint the stripes and also the stars on the other side.


(Be careful not to pass the hand over the painted section!)
Step 4:
Now paint the stars on the other side with the stencil you made on step 1. Be very careful with it, because it sometimes move (ask for help if you need to), and your stars would look weird (it happened to me) so, sometimes you'll have to retouch them very, very carefully.

Step 5:
Go with the red. Be very careful and slow with it. If possibly, wait until the white paint is dry.

Step 6:
When I thought they were finished (and absolutely dry) I realized I didn't paint until the seams, so, I had to turn them a little bit and then, paint. Also, when the paint is dry, maybe you'll have to retouch or re-paint, because some fabric needs more paint than others (mine are with two layers of white and red on the stripes).

Step 7:
Iron if necessary.
Note: I didn't paint mine on the back, but you can, just imagine and create your own stars & stripes shorts!


![About [span]me[/span]](https://farm5.staticflickr.com/4335/35565816704_416c791419_o.jpg)


11 comentarios
what a fab DIY!! thanks for sharing. I love your shorts and can't wait to make one like that for me now :)
ReplyDeleteUna forma muy original de conseguirlos!!
ReplyDeleteun beso
Love it! You did a great job :D
ReplyDeletehttp://bitterdoglady.blogspot.com/
great idea to paint your own shorts!!! i don't think i can paint as great as you though.
ReplyDeleteFabulous! They look just like the originals! What a great job:-)
ReplyDeletexoxox
Carly
what a great idea dear! i will make one soon ;)
ReplyDeletehttp://ivenevereatyourcookies.blogspot.com/
The shorts turned out great! You're a talent!
ReplyDeleteXoXo
Plami
http://www.fashionthrill.com/
this is amazing!! thank you so much, I'll definitely make a pair! xx
ReplyDeleteThis is one of my favourite diys ive come across, the shorts are so lovely and a fraction of the price topshop are charging for them! xxxxxx
ReplyDeleteFun shorts!
ReplyDeleteReally cool :)
ReplyDeletexoxo Gozika